 Skip to content
 Installing an air conditioner needs careful planning and execution. This is important to make sure it works well and lasts long. At Tornado HVAC, we have simplified the process into useful steps. These steps will help you have an aircon installment. Whether you are upgrading to a split system or replacing an old unit, these guidelines will support you in getting everything done easily.
10 Steps Aircon Installment
1. Assess Your Space and Needs
Before installation begins, evaluate your home’s cooling requirements. Consider factors like room size, insulation quality, and existing ductwork (for central AC systems). For split systems, identify ideal locations for indoor and outdoor units, ensuring the outdoor unit has unobstructed airflow and the indoor unit avoids direct sunlight or heat sources.
2. Prepare the Installation Site
Clear the area around the installation zone of debris, furniture, or obstructions. For window ACs, ensure the window frame is sturdy and has access to an electrical outlet. For split systems, verify that the wall can support the indoor unit’s weight and drill a hole for refrigerant lines, angled downward for drainage.
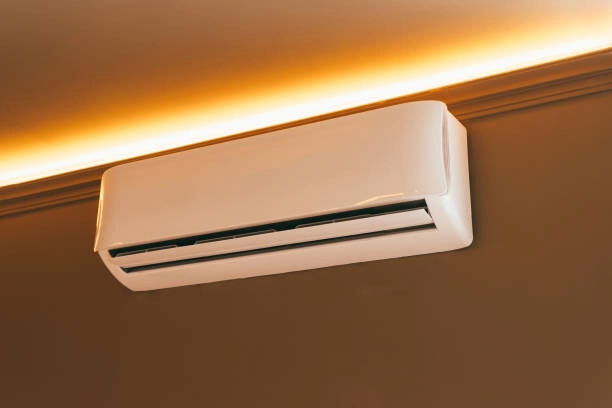
3. Mount the Indoor Unit
Secure the mounting plate to the wall using anchors and screws, ensuring it’s level and stable. For split systems, connect the indoor unit to the plate, double-checking alignment with a spirit level. Avoid bending or twisting refrigerant lines during installation to prevent leaks.
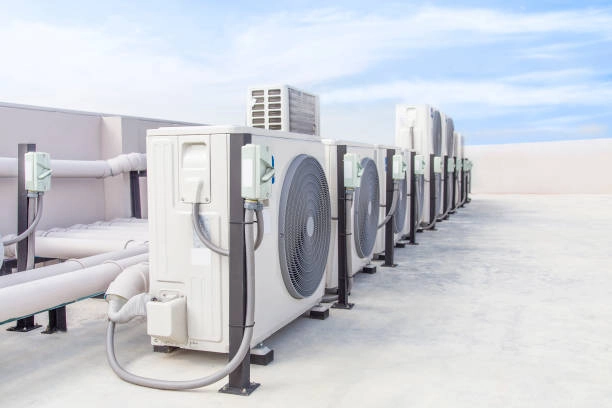
4. Install the Outdoor Unit
Place the outdoor unit on a flat, stable surface (e.g., a concrete pad) and secure it with brackets to prevent vibrations. Ensure adequate clearance around the unit for airflow and heat dissipation.
5. Connect Refrigerant Lines and Wiring
Thread refrigerant lines through the drilled hole, securing them with hangers every 4–6 feet to avoid kinks. Connect the lines to the indoor and outdoor units, brazing or welding joints for leak-proof seals. For electrical wiring, follow manufacturer guidelines to link the units and thermostat.
6. Seal Gaps and Insulate
For window ACs, use foam insulation or weatherstripping to seal gaps between the unit and the window frame, enhancing energy efficiency. For split systems, ensure all connections are tightly sealed to prevent refrigerant leaks.
7. Test the System
Power on the AC and check for unusual noises, leaks, or uneven airflow. Verify cooling performance by adjusting settings and monitoring temperature changes.
8. Dispose of Old Units Responsibly
If replacing an existing AC, safely remove refrigerants and recycle the old unit to avoid environmental harm. Partner with professionals for hazardous material handling.
9. Schedule Maintenance
Regular upkeep extends your AC’s lifespan. Book annual tune-ups with a certified aircon installer to clean filters, inspect refrigerant levels, and address wear-and-tear issues early.
10. Opt for Professional Guidance
While DIY installation is possible, complex systems (e.g., central AC) require expertise. Trust a licensed aircon installer to handle refrigerant handling, electrical work, and warranty compliance for a stress-free, easy install aircon experience.

A good aircon installment begins with careful planning and ends with dependable performance. By following these important steps, you can have effective cooling, fewer problems, and lasting comfort in your space. Whether you are updating or installing for the first time, Tornado HVAC is here to help you each step of the way.
From choosing the right system to professional setup, we make the process simple and easy. Trust our team for expert tips and quality help that keeps your home cool all year long. Contact us today to plan your air conditioning installation and see what Tornado HVAC can do!
Frequently Asked Questions
1. What should I do before starting an aircon installment?
Before you install your air conditioning, check your space for size, insulation, and airflow. Picking the right place is important. A reliable aircon installer can help you understand your needs and recommend the best setup. This way, you can have a smooth air conditioning installation that works well and keeps your home cool all year.
2. Can I handle the aircon installment myself?
Some easy-to-install aircon units can be set up by yourself, but it’s better to hire a certified aircon installer. This is important for safety and to make sure it works well. A professional can handle refrigerant and electrical work properly. This will lower risks and help your aircon run better for reliable cooling and comfort in the long run.
3. How long does a typical aircon installment take?
An aircon installation typically takes between 4 and 8 hours. This time can change based on the type of system and setup. A trained aircon installer will help the work go fast while keeping safety in mind. To make the installation easier, get ready ahead of time and clear the space before your appointment. This will help things run smoothly.
4. What tools are needed for an aircon installment?
An air conditioner installation needs simple tools such as drills, wrenches, insulation tape, and brackets for fixing it. A trained air conditioner installer will also bring special tools like gauges and leak detectors. For an easy air conditioner job, hiring a professional makes sure all tools are used right. This lessens mistakes and stops problems later, like leaks.
5. How do I maintain my AC after installment?
After an aircon installment, schedule yearly checkups with a trusted aircon installer. Regular cleaning, changing filters, and checking refrigerant levels are important. Keeping your system in good shape helps it perform well for a long time. This way, your easy install aircon will work better, need fewer repairs, and use energy more efficiently.
6. Why should I choose a professional aircon installer?
Hiring a qualified aircon installer ensures your aircon installment meets safety and warranty standards. They have the skills and knowledge needed to do the job right. This can help your aircon run better and last longer. Instead of risking mistakes, it’s best to hire someone who knows what they are doing. This way, you can relax and enjoy cool air without worries.
Hiring a skilled aircon installer ensures your aircon is set up safely and meets warranty rules. Experts take care of the tricky wiring and refrigerant work. This means your aircon setup works well and is dependable. It helps prevent problems like leaks or low performance. This way, you can feel comfortable and relaxed all year round.
7. What’s the difference between window and split system aircon installment?
Window AC units are easy to install and are great for small rooms. Split systems need to be mounted on the wall and consist of indoor and outdoor units. A skilled aircon installer will make sure everything is done right for both. For a simple aircon project, choose the system that fits your needs and let a professional take care of the setup.
